
Last updated September 20, 2026
Free on-site gate assessment - hinges, posts, and your LiftMaster or Nice gate operator checked before anything is quoted
The assessment is free and the quote is the invoice.
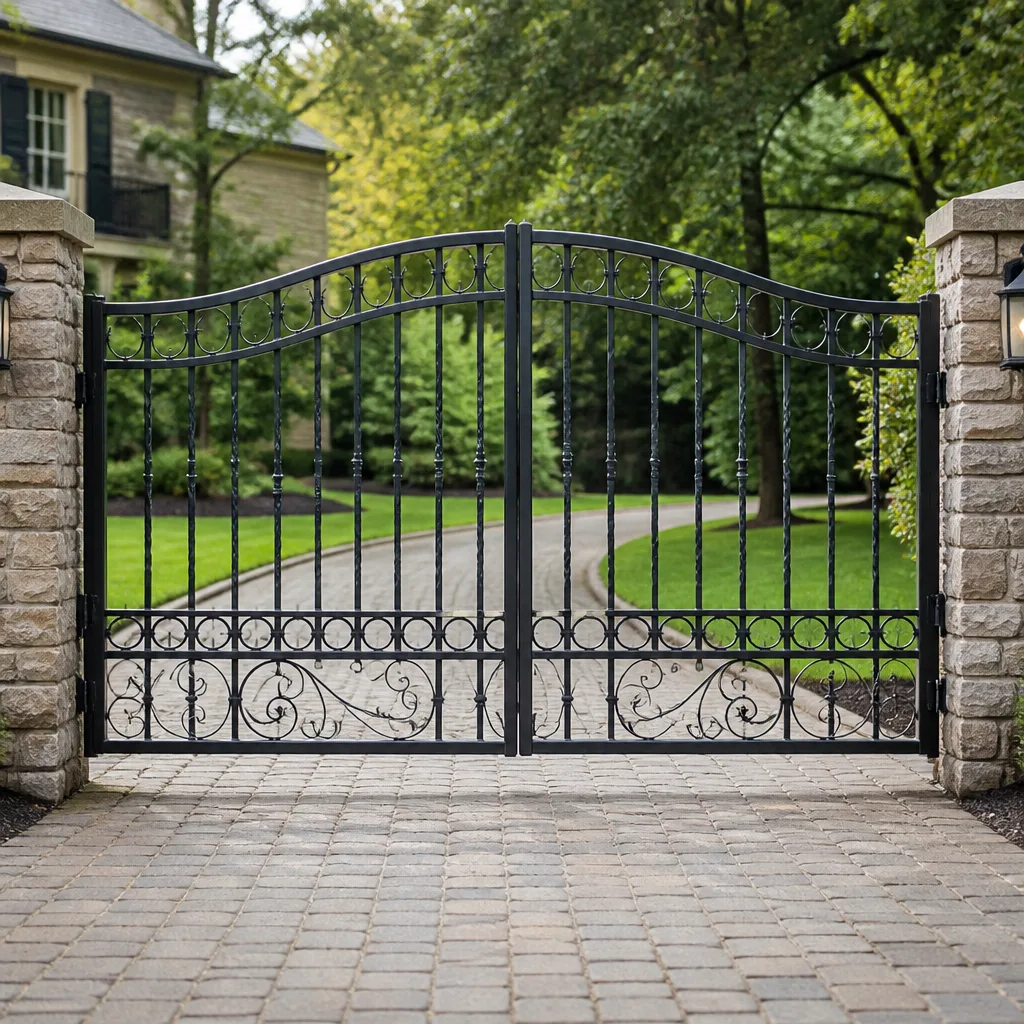
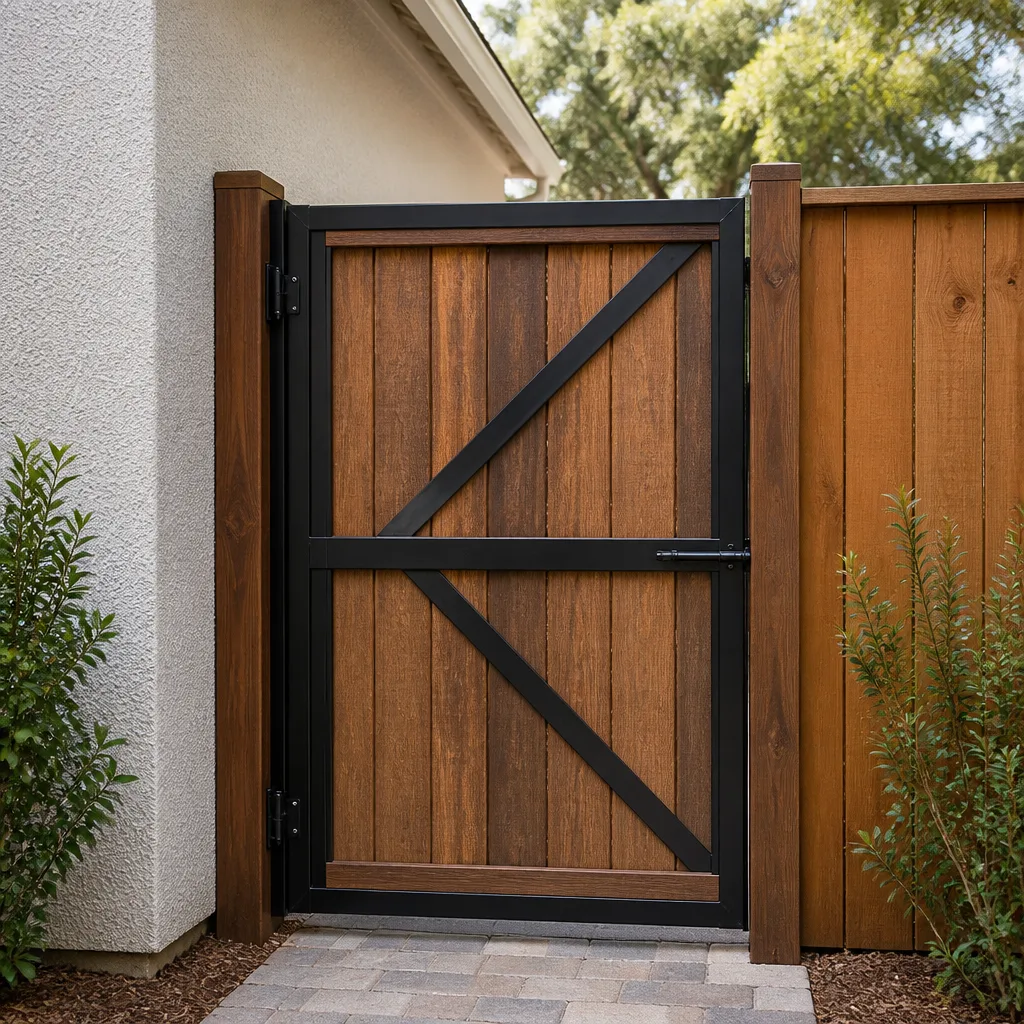
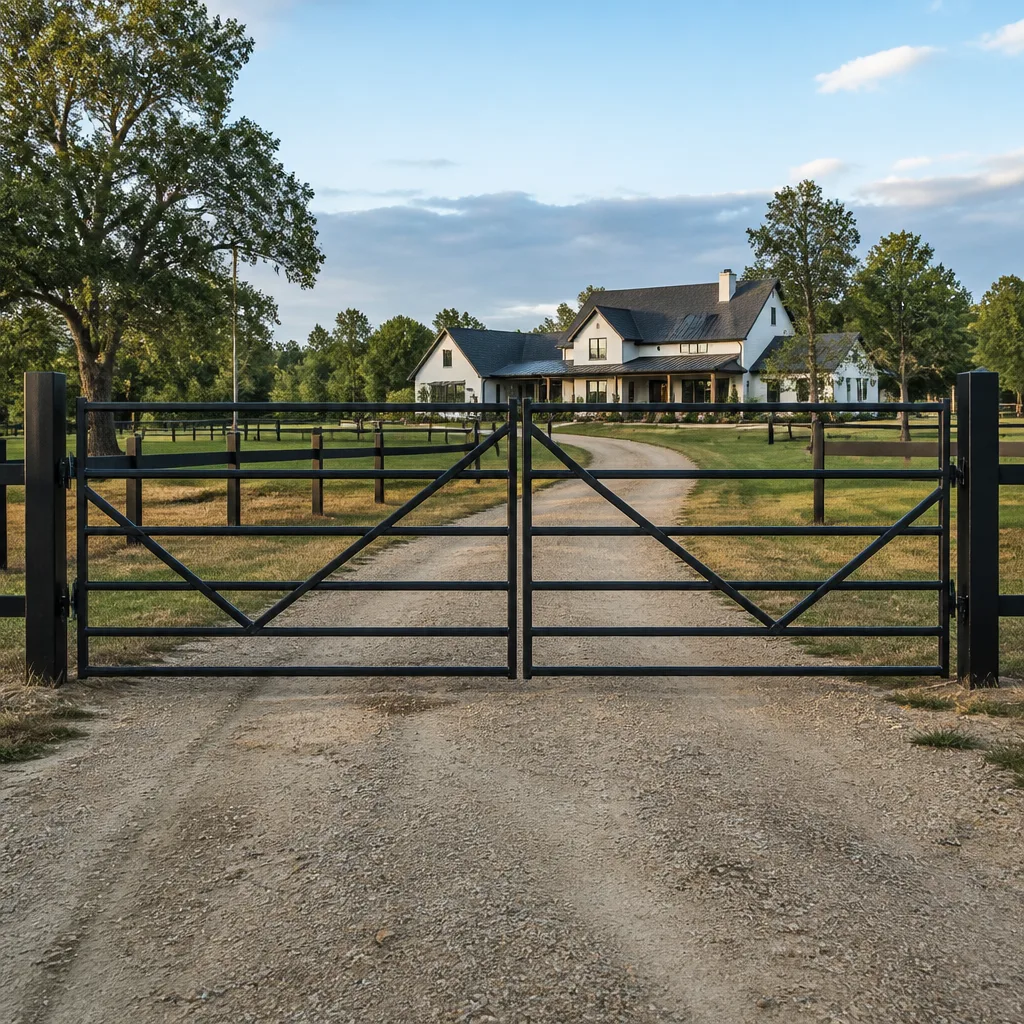
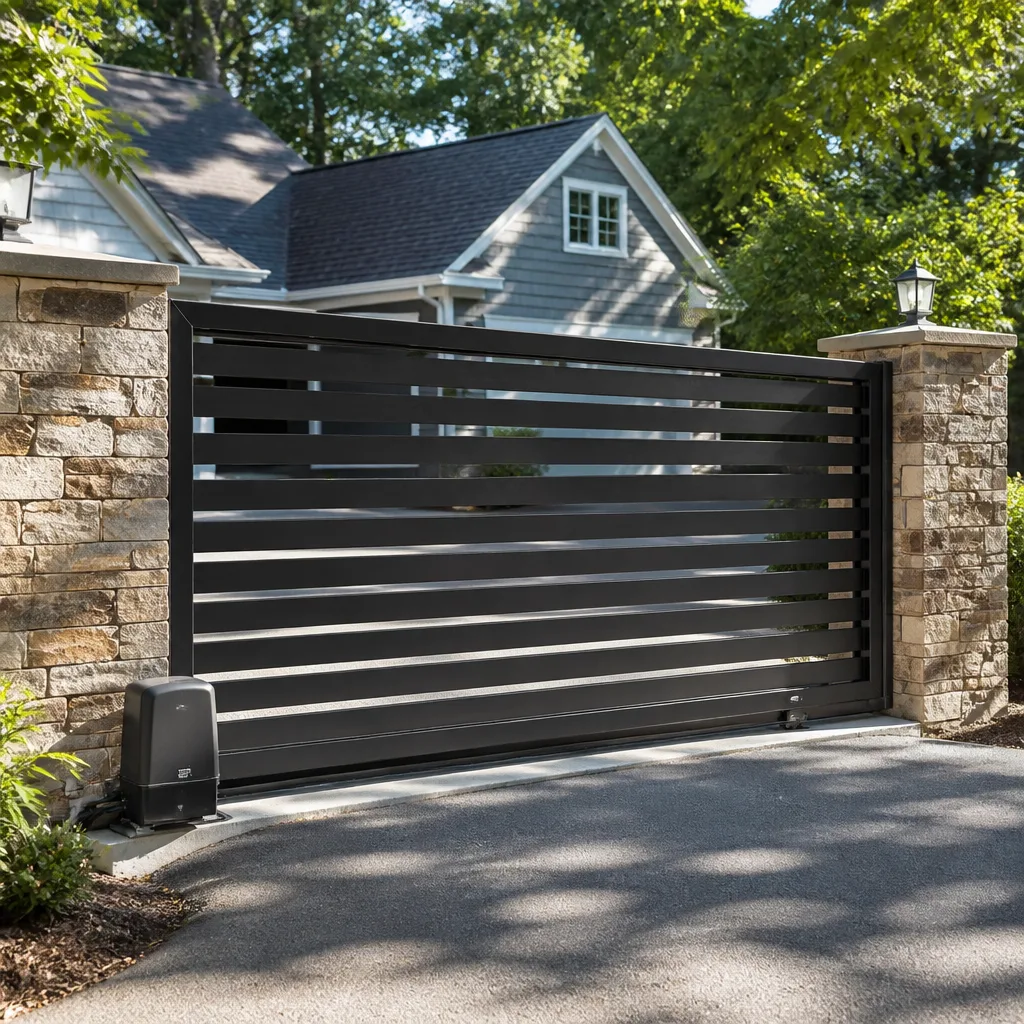
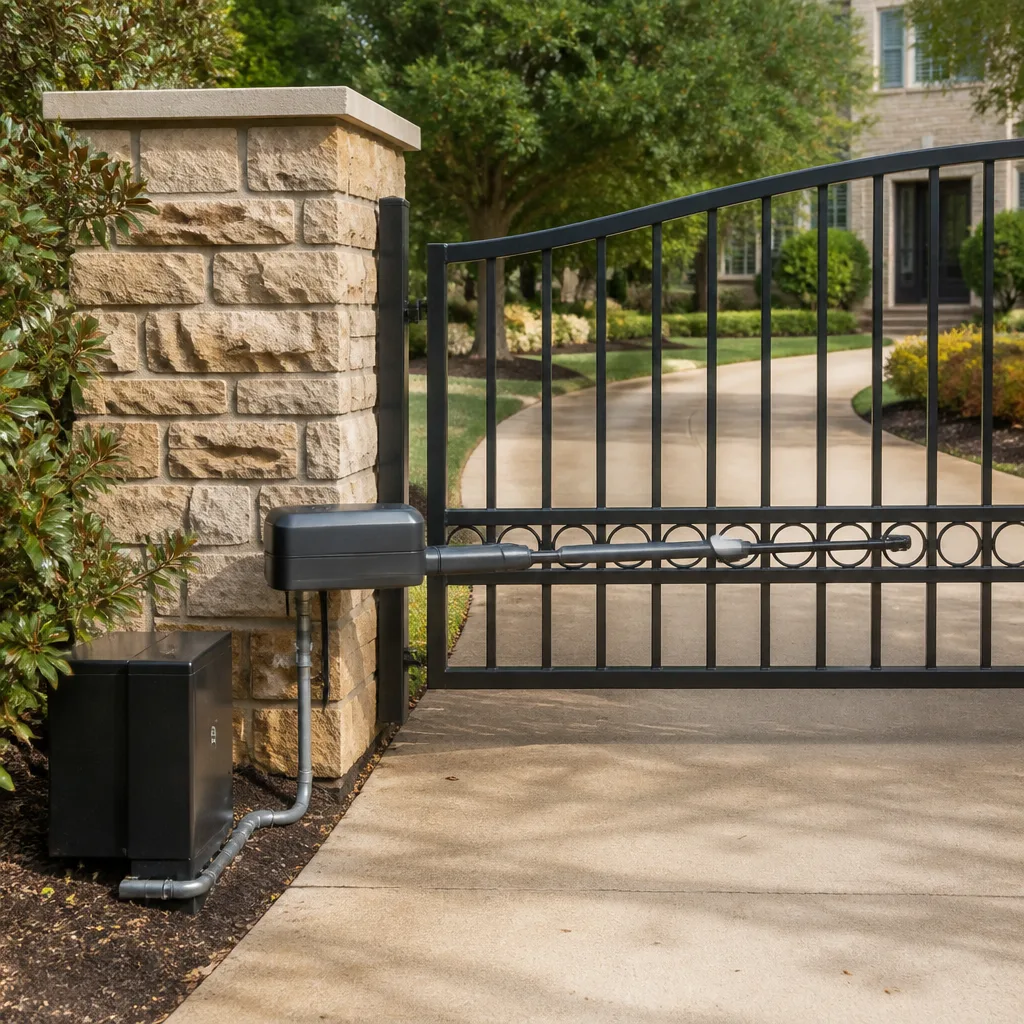
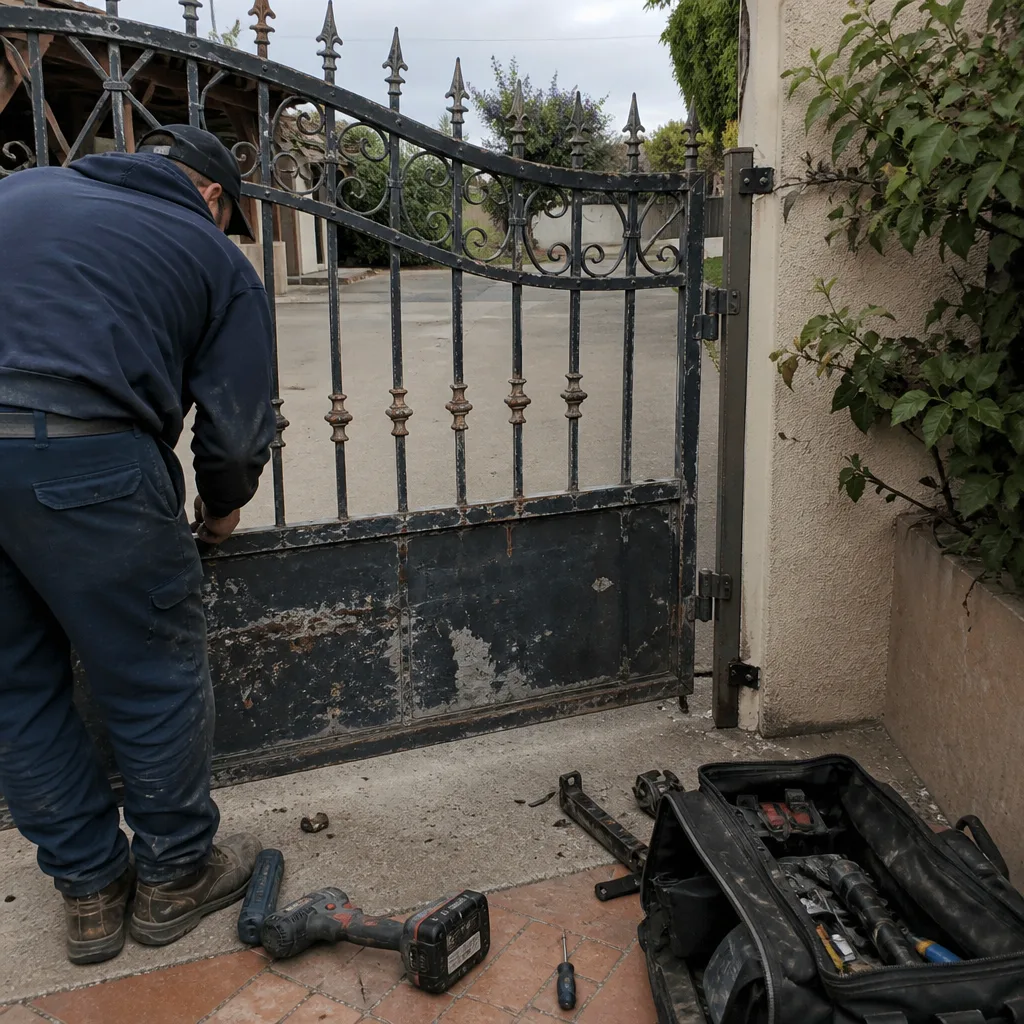 Before
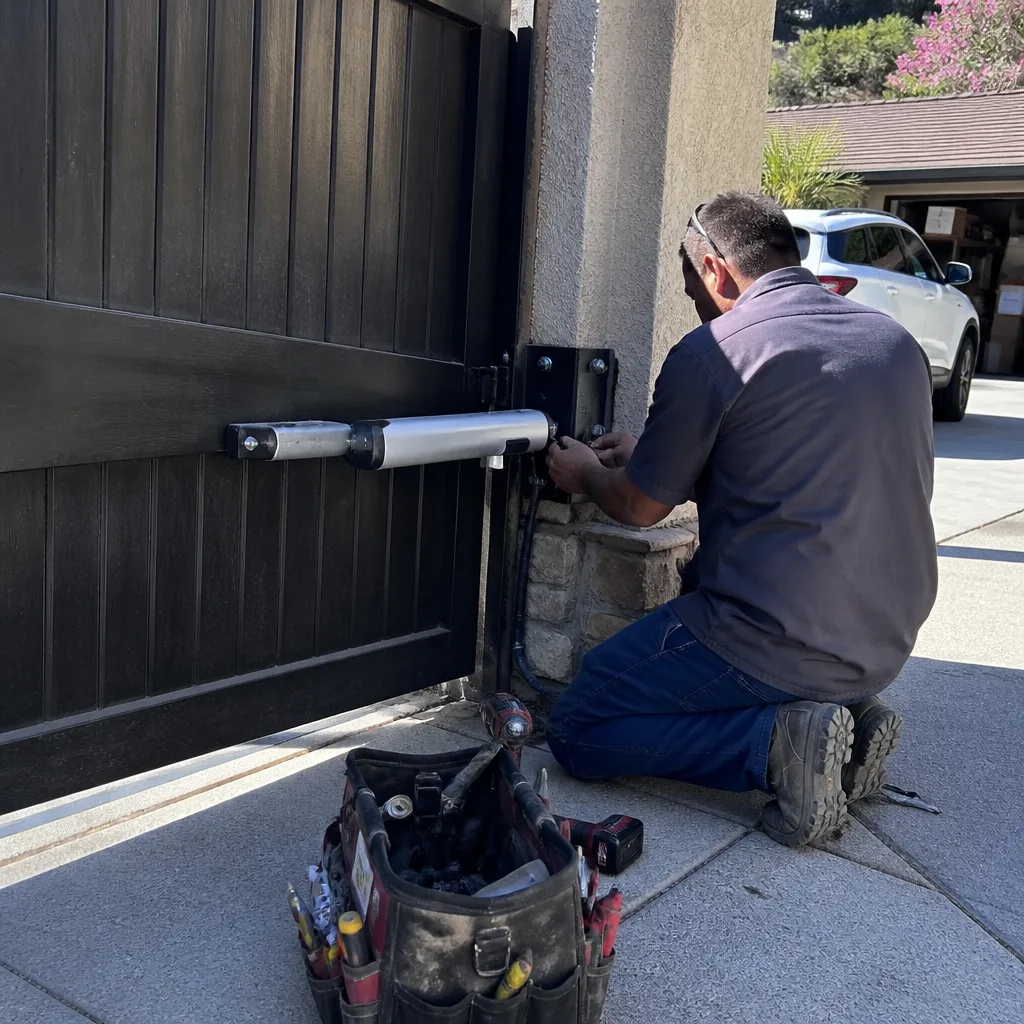 After
After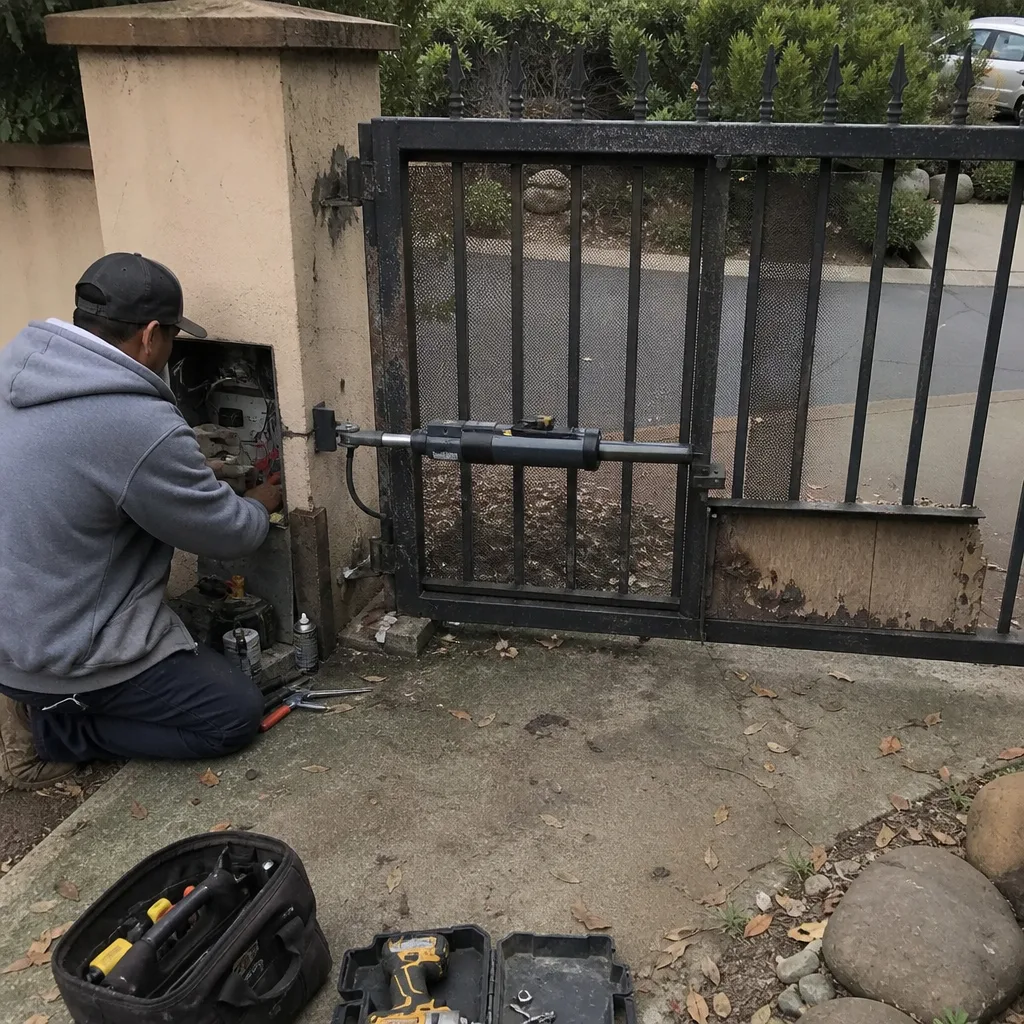 Before
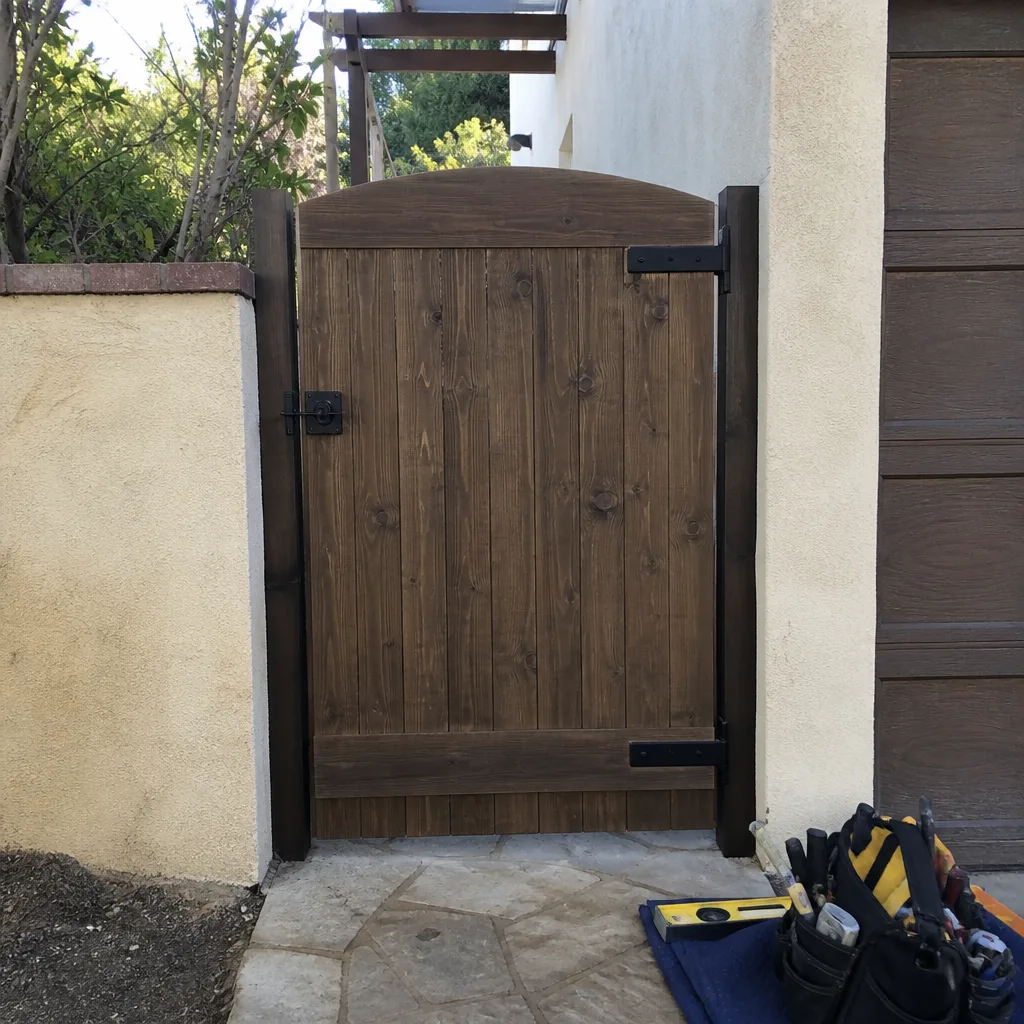 After
After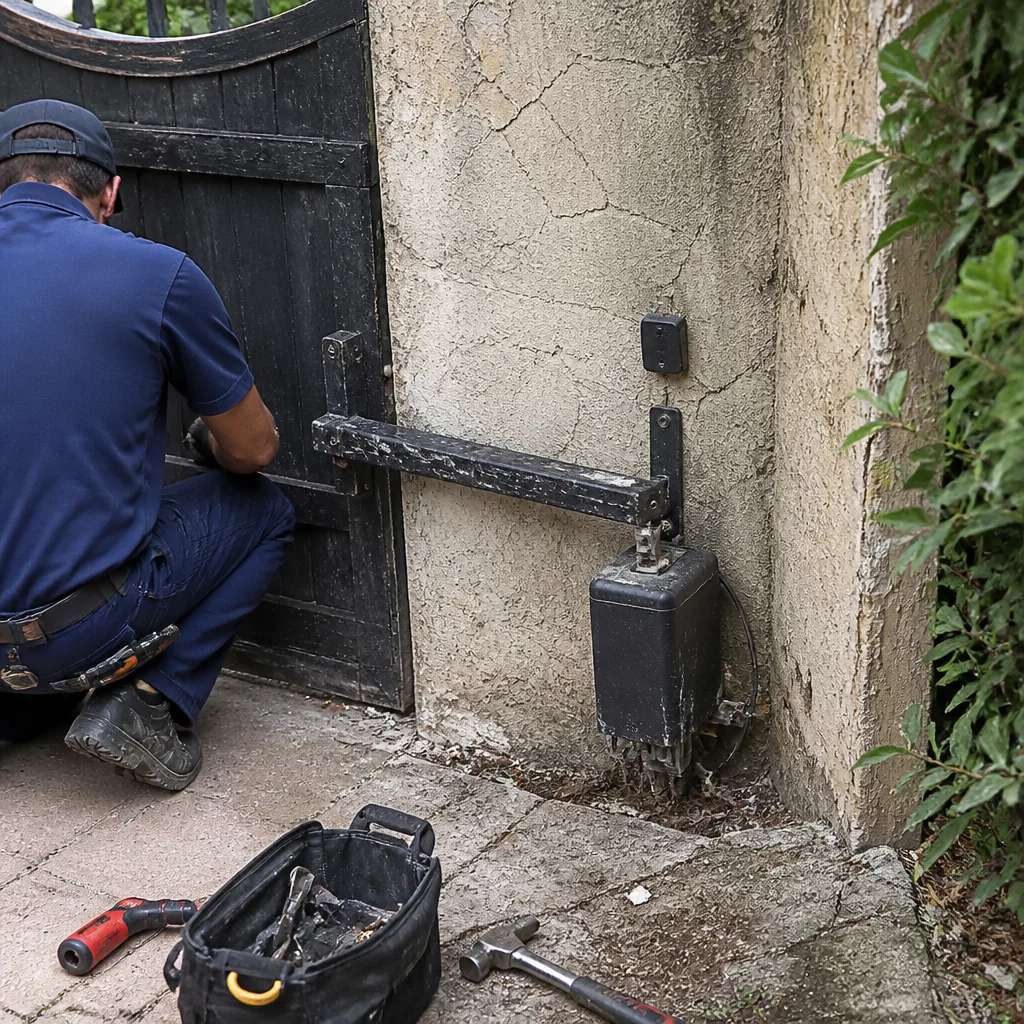 Before
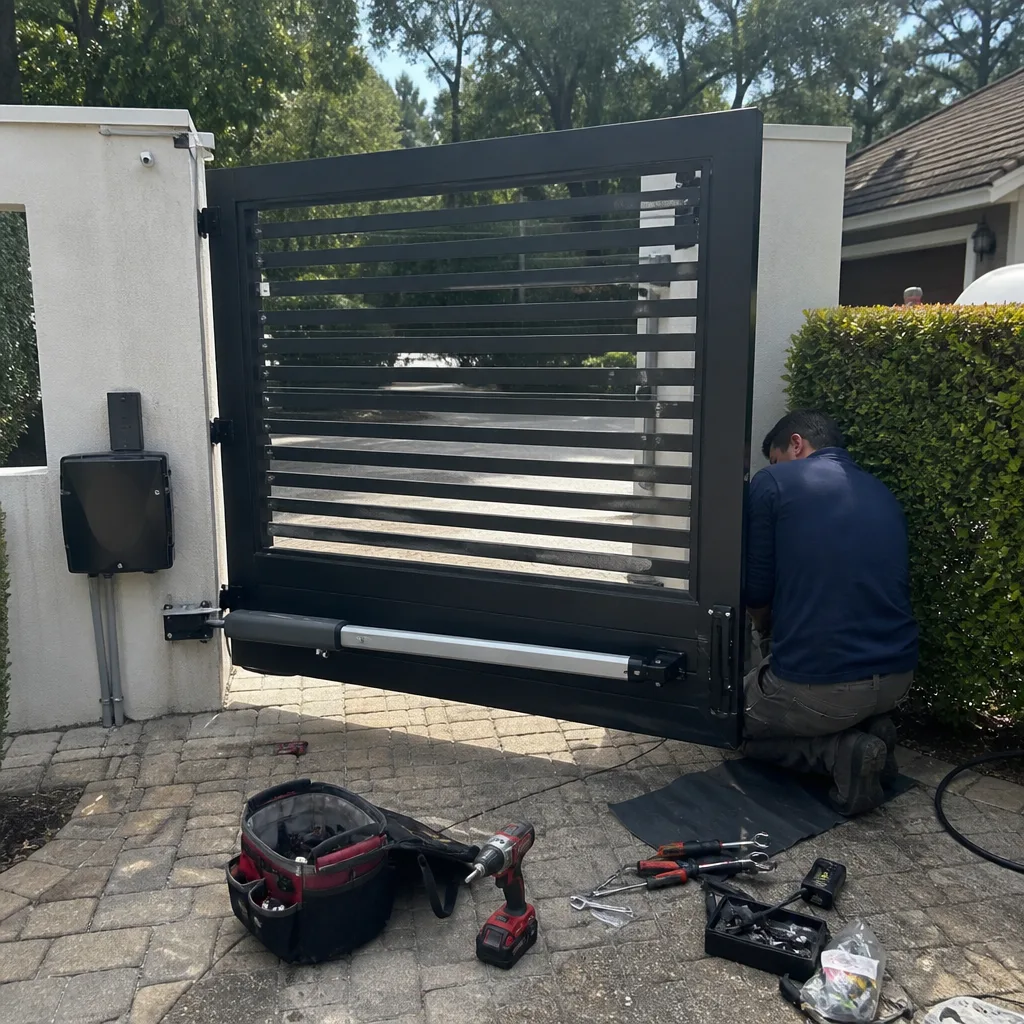 After
AfterDIY vs Professional Gate Repair: The Agoura Hills Homeowner’s Decision Guide
Replacing a gate remote is DIY. Adjusting entrapment-protection sensitivity on a UL 325 operator is not. The distinction matters because one is a battery swap and the other is a liability issue if someone gets hurt. Most guides treat Gate Repair as a single question with a single answer. It isn’t. This guide breaks down exactly which repairs a Agoura Hills homeowner can safely handle, which ones carry consequences when done wrong, and where the legal line sits in California. By the end, you’ll know precisely when to pick up a screwdriver and when to pick up the phone.
Quick Answer
DIY gate repair in Agoura Hills is appropriate for about four jobs: remote programming, battery replacement, lubrication, and visual inspection. Everything involving gate motors, wiring, hinges under tension, or safety device calibration should go to a licensed professional, both because the failure cost is higher and because California law restricts homeowner electrical work on automated gate systems. The realistic split for most homeowners is roughly 20% DIY, 80% professional, and the smartest DIY move is often the documentation you create before you call anyone. For additional help, see our Gate Repair Maintenance Checklist for Agoura Hills Homeowners.
Table of Contents
- The Repair-by-Repair Decision Matrix
- What You Can Safely DIY: The Complete List
- What You Should Never DIY: Risk Profiles and Failure Costs
- What California Law Says About Self-Performed Gate Work
- How to Partially DIY a Gate Repair (The Handoff Method)
- The DIY Documentation Standard: What to Record
- Agoura Hills-Specific Factors That Change the Equation
- Common Mistakes to Avoid
- When to Call a Professional
- Frequently Asked Questions
- The Bottom Line
BeforeAfterThe Repair-by-Repair Decision Matrix
Gate repair isn’t one category of work. It’s about fourteen distinct jobs, each with its own risk profile, tool requirement, and cost-of-failure. We’ve organized them below by DIY-appropriateness, based on what we’ve seen across more than 22,000 gate repairs and installations since 2014. The rule of thumb: if the repair involves a battery, a button, or a spray can, it’s usually DIY. If it involves a motor, a wire, a weld, or a spring under load, it isn’t.
Here’s the full breakdown:
- Remote control programming: DIY. Takes minutes. No tools. Instructions are in the manual or online for most brands including LiftMaster, Linear, and Ghost Controls.
- Remote battery replacement: DIY. A flathead screwdriver and a CR2032 or A23 battery. Done in five minutes.
- Lubrication of hinges and rollers: DIY. White lithium grease on metal-on-metal contact points. No disassembly required.
- Visual inspection and documentation: DIY. Photograph everything. Measure gaps. Record what you see. This is the highest-value DIY work available.
- Photo-eye (safety beam) cleaning and alignment check: Borderline DIY. Cleaning the lens is safe. Adjusting the beam alignment is usually safe. But recalibrating entrapment sensitivity after adjustment crosses into professional territory.
- Limit switch adjustment: Professional. The limit switch controls how far the gate travels. Setting it 12 degrees past travel, which we see regularly, means the operator is fighting its own stop point every cycle. That burns motors.
- Gate motor or operator replacement: Professional. This involves line voltage, torque settings, safety device integration, and warranty registration. No exceptions.
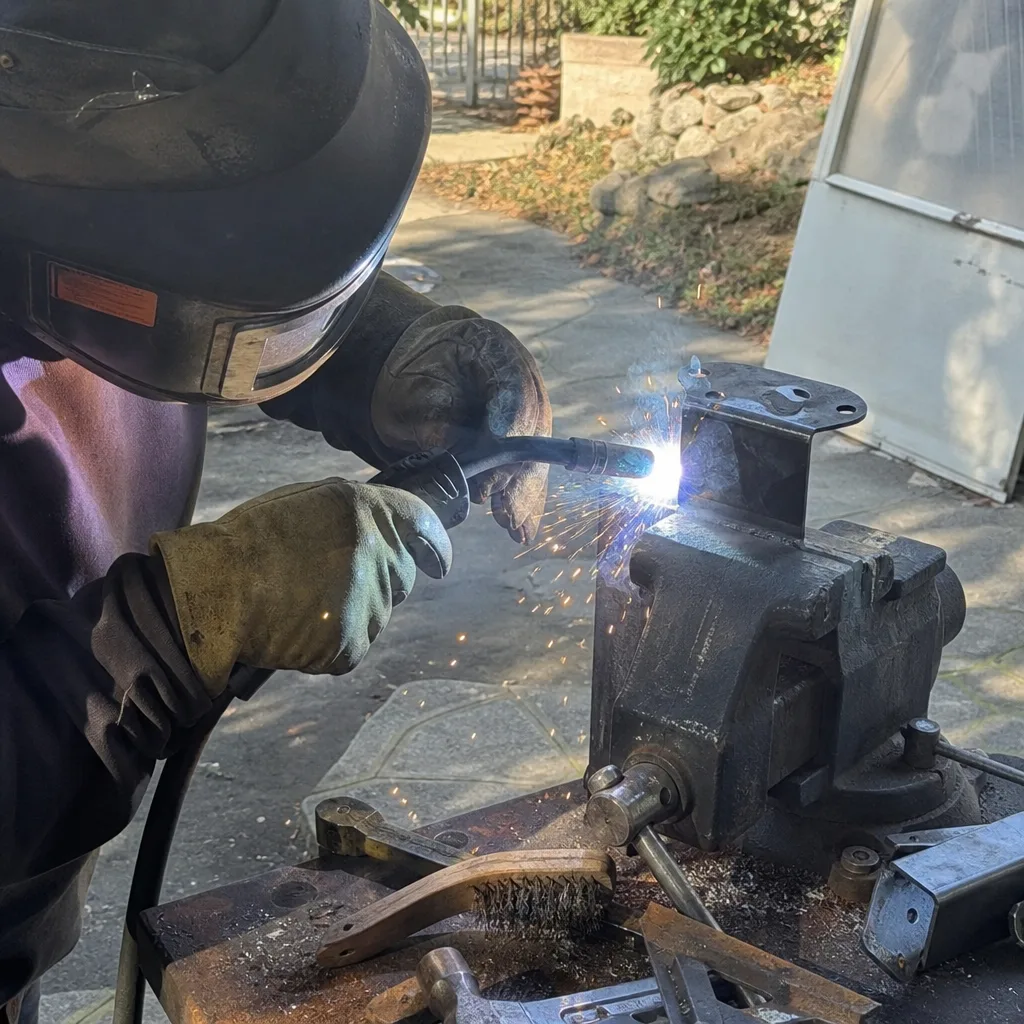
- Hinge welding or repair: Professional. A gate under tension can shift suddenly. The welds on a cantilever or swing gate carry hundreds of pounds. Bad welds fail catastrophically.
- Safety device calibration (entrapment protection): Professional. This is the repair that carries legal liability if done wrong. UL 325 compliance isn’t optional, and the sensitivity settings are not a guess.
- Wiring repairs past the control board: Professional. Low-voltage wiring is less dangerous than line voltage, but incorrect terminations on a Viking or BFT board can fry the board and void the warranty.
- Gate track realignment: Professional. Slide gates that jump the track usually have an underlying issue: a bent wheel, a settled footing, or a misaligned guide. Fixing the symptom without finding the cause repeats the repair in six months.
- Keypad installation or replacement: Borderline DIY. Wiring a keypad into an existing operator is straightforward if you have the manual. But it’s the same low-voltage wiring caution as above. If you’re not certain, don’t.
- Chain or belt replacement on slide gates: Professional. Tension matters. Too loose and the gate slips. Too tight and you’re replacing bearings next.
- Gate wheel replacement: Professional. The gate has to be jacked and supported. A sliding gate can weigh 800 pounds or more. Getting under it without proper support is how people get seriously hurt.
For most Agoura Hills homeowners, this matrix means you’ll handle the battery and the lubrication, and you’ll call someone for the rest. That’s not a failure. That’s the correct allocation of risk. For a deeper look at what Gate Repair in Agoura Hills actually covers on the professional side, we’ve documented the full scope there.
What You Can Safely DIY: The Complete List
The DIY jobs that are genuinely safe share three characteristics: no electrical work, no tension or load-bearing components, and no consequence-of-error beyond the part itself. Here are the four repairs that meet all three criteria, with the exact steps for each.
1. Remote Control Programming
Programming a remote is pressing a learn button and a remote button in the right sequence. For most LiftMaster operators, you open the control panel, press the learn button once, then press the remote button within 30 seconds. The light blinks and you’re done. Ghost Controls uses a nearly identical process. Linear remotes need the DIP switches matched if it’s an older model, which takes five minutes with a small screwdriver.
The most common mistake is programming a remote while standing too far from the operator. The learn signal is short-range. Stand within five feet. The second most common mistake is buying an incompatible remote because the frequency or code type doesn’t match. Match the model number on the back of the old remote before buying a replacement.
2. Battery Replacement
Remotes take either a CR2032 coin cell or an A23 12-volt battery, depending on brand. Viking remotes typically use A23. LiftMaster remotes with a visor clip often use CR2032. Pop the case, swap the battery, match the polarity, snap it closed. The remote should work immediately. If it doesn’t, check that the battery is seated correctly before assuming the remote failed.
Keypads also have batteries, usually 9-volt. If the keypad is dim or unresponsive but the remote works, that’s your sign.
3. Lubrication
White lithium grease on the hinge points, roller bearings, and the chain on chain-drive operators. Do this every six months in Agoura Hills, because the dry summers and the Santa Ana winds coat everything in fine dust that acts as an abrasive. Wipe the old grease off with a rag before applying new grease. Adding fresh grease on top of grit is how you grind the hinge pins down.
Do not use WD-40. WD-40 is a solvent, not a lubricant, and it strips the existing grease out. Use white lithium grease or a dedicated gate lubricant.
4. Visual Documentation
This is the highest-value DIY work available, and it costs nothing but time. Every six months, walk the gate and photograph: the hinges from both sides, the operator arm at both ends of travel, the chain or belt tension, the wheels and track, the control board, and any rust spots. Save those photos with dates. When something fails later, a technician can compare the current state against your baseline and identify what changed. That baseline is what a professional starts from when they diagnose a problem.
For a complete walkthrough of what a professional gate inspection includes in this area, see Gate Installation in Agoura Hills - the same documentation standard applies to the installation process.
What You Should Never DIY: Risk Profiles and Failure Costs
The jobs that land in the “never DIY” column fall into four categories. Each has a specific risk profile, and each has a documented cost of failure that’s higher than the cost of hiring a professional in the first place.
Electrical Work: Wiring, Motors, and Control Boards
The risk here is twofold. The immediate risk is shock, particularly with operators running on 110-volt line power. The delayed risk is a miswired low-voltage connection that doesn’t fail immediately but degrades a control board over months. We’ve seen a BFT control board destroyed by a homeowner who reversed two low-voltage wires and “fixed” the problem by bypassing a fuse. The board replacement cost more than the original repair would have.
The cost of failure on electrical work typically runs between $400 and $1,800 depending on the brand and board. A Viking or Linear board replacement parts cost is typically on the higher end. Labor to diagnose and replace adds $200 to $400. That’s a $1,500 mistake on a job that would have cost $250 to hire out originally.
Safety Device Calibration: The Liability Issue
A gate operator with entrapment protection that’s set too sensitive will stop and reverse constantly, frustrating the owner. A gate operator set too insensitive will close on a person or a pet and not stop. The adjustment range between those two settings is small, and the gold standard for gate operators is UL 325 compliance, which mandates specific force limits and failsafe behavior.
Here’s the part most DIY guides skip: if a gate closes on a child in a driveway in Agoura Hills and the entrapment protection was adjusted by an unlicensed person, the homeowner is exposed. Liability, insurance, and code compliance all point the same direction. This is not a “watch a YouTube video and give it a shot” repair. This is the repair you pay someone to do and get the documented calibration in writing.
Welding and Hinge Work Under Load
A swing gate’s hinges carry the full weight of the gate, which for a 16-foot steel gate can exceed 600 pounds. A cantilever gate carries even more because of the counterweight. Welding a hinge back onto a post while the gate is still hanging is how people get pinned. The gate shifts, the weld fails, and hundreds of pounds of steel comes down.
We regularly see failed DIY welds in Agoura Hills. The repair typically involves cutting the old weld out, fabricating a new hinge bracket, and re-welding with the gate properly supported. That’s $350 to $800 depending on the gate, and it’s always more than the original repair would have cost.
Operator Replacement: The Warranty Void
Every major gate operator manufacturer, including FAAC, BFT, LiftMaster, and Linear, voids the warranty if the operator is installed without a licensed contractor or without completing the required safety device integration. A DIY operator install saves $600 in labor and costs $1,200 in warranty coverage you are no longer eligible for. That’s the trade, and it’s a bad one.
For a full breakdown of what’s involved in operator work, see Gate Motor & Opener in Agoura Hills - the page covers brands, replacement scope, and what the documentation includes.
What California Law Says About Self-Performed Gate Work
California has specific regulations that draw the line between homeowner-permitted work and licensed contractor required. The line matters because crossing it affects insurance coverage, warranty eligibility, and in some cases legal liability.
Under California Business and Professions Code, homeowners can perform work on their own property without a contractor’s license if the work doesn’t require a building permit. The key phrase is “doesn’t require a building permit.” Low-voltage work, like changing a battery or programming a remote, never requires a permit. Replacing a gate operator usually doesn’t require a permit either, but the electrical connection does if it involves new line voltage to the operator location.
Here’s the practical breakdown for Agoura Hills:
- Homeowner-permitted without a permit: Remote programming, battery replacement, lubrication, visual inspection, cleaning photo-eyes, replacing a keypad battery.
- Homeowner-permitted but risky: Replacing a photo-eye sensor, rewiring low-voltage connections, replacing a keypad. No permit required, but the liability if done wrong is yours.
- Licensed professional required: Any new line voltage run, any operator replacement tied to a new electrical connection, any work on entrapment protection that affects UL 325 compliance, any structural welding.
The Los Angeles County Department of Building and Safety applies to Agoura Hills, which incorporates into the same regional code enforcement. If you’re running new electrical to a gate operator, a permit is required and the work must be done by a licensed electrician or a licensed contractor. The operator itself can be installed by a gate professional once the electrical is in.
The line that surprises most homeowners isn’t the electrical line. It’s the safety device line. Entrapment protection calibration is a manufacturer-mandated procedure that requires specific training and, in some cases, manufacturer certification. Doing it wrong isn’t a code violation. It’s a liability issue if someone gets hurt. That’s the part no YouTube tutorial tells you.
How to Partially DIY a Gate Repair (The Handoff Method)
The smartest way to save money on professional gate repair isn’t to do the professional work yourself. It’s to do the prep work that a professional would otherwise bill for, then hand off the licensed portion with a clean starting point. Here’s the method we recommend, step by step.
Step 1: Document the Current State
Before anything fails completely, photograph the gate operator’s model number, the control board, the hinge configuration, and the gate’s travel path. Video the gate cycling through one full open and close. Record the sounds it makes. Note whether it hesitates, creaks, or shudders at any point. That video becomes the diagnostic baseline.
Step 2: Source the Parts Yourself (If You Want To)
If you know the operator model, you can source a replacement circuit board, gear kit, or remote yourself from the manufacturer or a parts distributor. This saves the parts markup a contractor would apply. The trade-off is that you accept responsibility for parts compatibility. If you buy the wrong board, you eat that cost. We’ve seen homeowners save $150 on a part that ended up costing $400 in wasted time and return shipping.
Step 3: Clear the Work Area
Trim vegetation away from the gate and the operator. Move anything stored near the gate’s travel path. Clear the area around the control box. A professional’s hourly rate shouldn’t be spent clearing brush. This is simple DIY work that takes 30 minutes and saves 30 minutes of labor.
Step 4: Write Down What You Know
A one-page note with the following saves the technician diagnostic time: operator brand and model, what the gate was doing before it failed, when the problem started, what you’ve already tried, and what you replaced. That note is worth more than an extra half hour of verbal explanation.
Step 5: Hand Off the Licensed Portion
Get the written price before the job starts, make sure the scope includes the documentation you’ll receive, and confirm the warranty period. Under the Haven Standard, the written scope, the written price, and the photo record on every visit are all included in a Vance Gate Repair Agoura Hills home visit. That’s what the standard exists to provide.
The reality is that most “DIY gate repair” savings come from prep and documentation, not from doing the repair. For more guides & resources, explore our blog. The homeowner who documents well and clears the work area typically saves 10 to 20 percent on the final invoice, without touching a single wire.
The DIY Documentation Standard: What to Record
If you take one thing from this guide, take this: the most valuable DIY work on a gate system is the documentation you create before you ever need a repair. A future technician who can see what the gate looked like when it was working, what changed, and what you’ve tried starts from a baseline instead of from zero. That saves diagnostic time, which saves money, and it prevents the “rediscover the same problem” scenario where a new technician re-diagnoses what a previous technician already found.
Here’s the documentation standard we recommend for every homeowner, modeled on the photographic record we leave on every professional visit:
- Model number photo: The operator’s model and serial number, on the sticker on the side of the motor. This is the single most useful thing a technician can have before arriving.
- Control board photo: With the cover off, photograph the board with all wiring visible. Do this once when it’s working. It becomes the reference point if wiring is disturbed later.
- Hinge photos: Both hinges, both sides, from six inches away. Surface rust, hairline cracks, and weld failures show up in close photos that you’d never see from six feet.
- Gate cycle video: One full open and close, shot from the side so you can see the gate’s behavior at both ends of travel.
- Chain or belt tension photo: A side view of the chain or belt with a reference point (like a finger or a ruler) so the sag is visible.
- Wheel and track photo: For slide gates, photograph each wheel and the track where the wheel runs. You’re looking for flat spots, rust, and debris build-up.
- Repair log: A running note on your phone or a paper card taped inside the control box cover. Date, what you did, part number if applicable. That’s the same kind of record we leave on every professional visit under the Haven Standard, Clause 4 (Evidence on every job).
This documentation isn’t busywork. It’s the difference between a technician spending the first 30 minutes figuring out what gate you have and spending those 30 minutes actually fixing it. In Agoura Hills, where gate service calls typically run $90 to $150 per hour for labor, that documentation saves $45 to $75 per visit.
Agoura Hills-Specific Factors That Change the Equation
Agoura Hills has a few characteristics that shift the DIY vs. professional calculation in ways generic guides miss. Here’s what actually matters here.
The Santa Ana Dust Factor
Agoura Hills sits in a wind corridor. The Santa Ana winds blow dry, fine dust through the hills every fall, and it settles on gate mechanisms. That dust accumulates inside control boxes, works into hinge pins, and coats chain drives. The practical effect is that gates in Agoura Hills need more frequent cleaning and lubrication than gates in, say, coastal communities. It also means the “it’s just dirty” diagnosis is more common here. Before you assume a gate operator failed, check whether the photo-eye lenses are clean. Agoura Hills dust is a contributor we see on a significant share of no-op calls.
Hillside Grade Changes
Many Agoura Hills properties have driveway grades that change over short distances. A swing gate on a grade behaves differently than one on flat ground. The operator has to work against gravity on the uphill swing. That means motors work harder and fail sooner, and it means limit switch settings matter more. If you’re doing the documentation walkthrough, note the grade. It changes the torque load on the operator and explains failures that look mysterious on paper.
Property Setbacks and Gate Placement
Agoura Hills properties, particularly in neighborhoods like Morrison Ranch, Liberty Canyon, and Old Agoura, often have gates that sit close to the road or at the top of a steep driveway approach. The proximity to the street means photo-eyes get dirty faster from road dust. The grade means more stress on the operator’s stop and reversal. Both factors mean the maintenance interval for Agoura Hills gates should be shorter than the national average.
The practical takeaway: the DIY tasks of cleaning and lubricating matter more in Agoura Hills than they would elsewhere, and the professional tasks of calibration and torque adjustment are more frequently needed. That slightly widens the professional side of the ledger for this city.
Common Mistakes to Avoid
- Adjusting the limit switch without marking the original position. We see this constantly. A homeowner “fixes” a gate that’s stopping short by turning the limit switch, then can’t get it back to the original setting when the real problem turns out to be a failing gear. Mark the original position with a pencil before touching anything. Or don’t touch it at all.
- Using WD-40 as a lubricant. WD-40 strips grease. It’s a solvent, not a lubricant. We see WD-40 residue on Agoura Hills gate hinges all the time, and the hinges are always worse for it. Use white lithium grease.
- Bypassing the photo-eye instead of replacing it. Some operators allow the photo-eye to be wired out. A homeowner who’s frustrated with a beam that keeps faulting will sometimes bypass it to get the gate working. That leaves an automated gate without entrapment protection. If a child or pet is in the path, the gate will not stop. This is the most dangerous DIY workaround we see.
- Replacing a fuse with a higher-amperage fuse. A blown fuse is a symptom, not the disease. Replacing a 5-amp fuse with a 10-amp fuse because the 5-amp kept blowing doesn’t fix anything. It just moves the point of failure to a more expensive component. Find the short that’s causing the draw.
- Buying a replacement part without matching the exact model number. A LiftMaster board from a different series will not work. A Linear remote from a different frequency will not pair. Match the model number exactly or have a professional source the part.
- Welding a gate hinge while the gate is still mounted. We covered this above, and it’s worth repeating because we’ve seen the results. The gate is under load. The weld fails. The gate shifts. No amount of money saved is worth the injury risk.
- Assuming the gate operator is the problem before checking the basics. In roughly a third of the no-op service calls we get in Agoura Hills, the operator itself is fine. The problem is a dirty photo-eye, a dead remote battery, a tripped GFCI at the outlet, or a breaker that flipped. Check the basics before you spend money on a service call.
When to Call a Professional
Call a gate professional when the repair involves the motor, the control board, the wiring, the safety devices, or any component under load. See our Gate Repair Cost Breakdown: The Agoura Hills Homeowner’s Reference for 2026 to understand typical pricing before you call. That covers about 80 percent of gate failures. If the gate is making noise it didn’t make before, if it’s stopping at the wrong point, if it’s reversing without reason, or if the operator is humming but not moving, those are professional-diagnosis situations.
Vance Gate Repair Agoura Hills offers written estimates before any work begins, so you’ll know the price before you commit. Call (424) 388-2906 for a free estimate in Agoura Hills. The price is written and handed to you before work starts, and every visit includes a photographed record of what we found and what we set.
Frequently Asked Questions
Most gate repairs in Agoura Hills run between $180 and $450 for common issues like photo-eye realignment, limit switch adjustment, and control board diagnostics. Motor replacements typically run $800 to $2,200 depending on brand, gate type, and whether the electrical run needs updating. You’ll get the exact written price before the job starts, not an estimate range after the fact. Call (424) 388-2906 for a free estimate on your specific gate.
Legally, you can install a gate opener yourself if no new electrical run is required and no permit is pulled. Practically, doing so voids the manufacturer’s warranty on most brands including LiftMaster, FAAC, and Viking, and any safety device calibration error becomes a liability issue if someone is injured. The warranty loss alone typically exceeds the labor cost of hiring a professional. For operator work, hiring a professional is the cheaper decision most of the time.
The most common cause in Agoura Hills is dust on the photo-eye lenses, which interrupts the beam and makes the operator think something is in the path. Clean both lenses with a dry cloth. If the problem persists, the beam alignment or the entrapment sensitivity is likely off, and that calibration should be done by a professional.
Lubricate the hinges and chain with white lithium grease every six months, clean the photo-eye lenses quarterly, replace remote and keypad batteries as needed, and document the gate’s condition with photos and a cycle video. Those are the safe DIY tasks. Everything else should go to a professional with a written scope and price.
Yes. We service nine major gate automation brands: LiftMaster, FAAC, BFT, Linear, Viking, Ghost Controls, DoorKing, Elite, and Mighty Mule. Whatever motor is already on your Agoura Hills property, we can work on it rather than steering you toward a replacement.
A live person answers the phone 24 hours a day, seven days a week, and we’ll get a technician scheduled promptly based on the urgency of the problem. For gate repairs in Agoura Hills, call (424) 388-2906 and you’ll speak to a person, not an automated attendant.
The Bottom Line
The DIY vs. professional question for gate repair isn’t about whether you’re handy. It’s about which repairs carry consequences when done wrong. Remote batteries and lubrication are DIY jobs. Wiring, motors, welding, and safety calibration are not. The smart homeowner’s approach combines safe DIY maintenance and documentation with professional repair, and gets the price in writing before committing. In Agoura Hills specifically, the dust and the grades mean gates need more attention than average, not less. Do the documentation. Do the lubrication. Call a professional for everything else. The money you save by doing the prep work is real. The money you lose by doing the electrical work is usually larger.
Written by Adrian Vance, Owner at Vance Gate Repair Agoura Hills, serving Agoura Hills since 2014.